how to add lace trim to a quilt
Adding lace trim to a quilt is a great way to add a unique and beautiful touch to your quilt. Lace trim can be used to create a variety of different looks, from a delicate and feminine look to a more rustic and vintage look. Here are some tips for adding lace trim to your quilt.
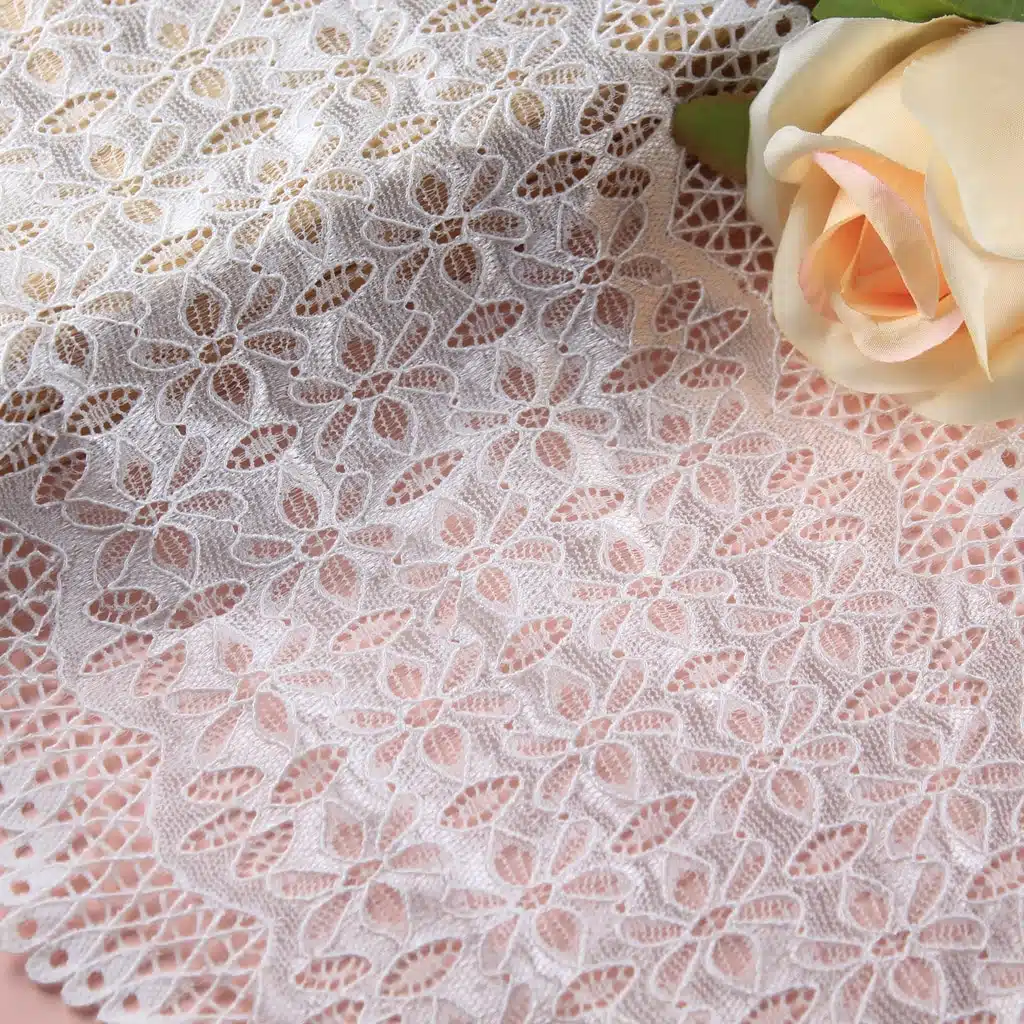
1. Choose the right lace trim. When selecting lace trim for your quilt, consider the overall look you are trying to achieve. Lace trim comes in a variety of colors, patterns, and widths, so you can find the perfect trim to match your quilt.
2. Measure and cut the lace trim. Measure the length of the quilt and cut the lace trim to the same length. If you are adding lace trim to the edges of the quilt, you may need to cut the trim into shorter pieces to fit the edges.
3. Pin the lace trim to the quilt. Use straight pins to attach the lace trim to the quilt. Start at one end of the quilt and work your way around, pinning the lace trim in place. Make sure the pins are secure and that the lace trim is lying flat against the quilt.
4. Sew the lace trim to the quilt. Use a sewing machine to sew the lace trim to the quilt. Start at one end of the quilt and sew along the edge of the lace trim. Make sure to backstitch at the beginning and end of each seam to secure the lace trim in place.
5. Trim any excess lace trim. Once the lace trim is sewn in place, trim any excess lace trim that is sticking out from the edges of the quilt.
6. Add any additional embellishments. If desired, you can add additional embellishments to the quilt, such as beads, buttons, or ribbons.
Adding lace trim to a quilt is a great way to add a unique and beautiful touch to your quilt. With a few simple steps, you can easily add lace trim to your quilt and create a one-of-a-kind look.