how to attach lace trim
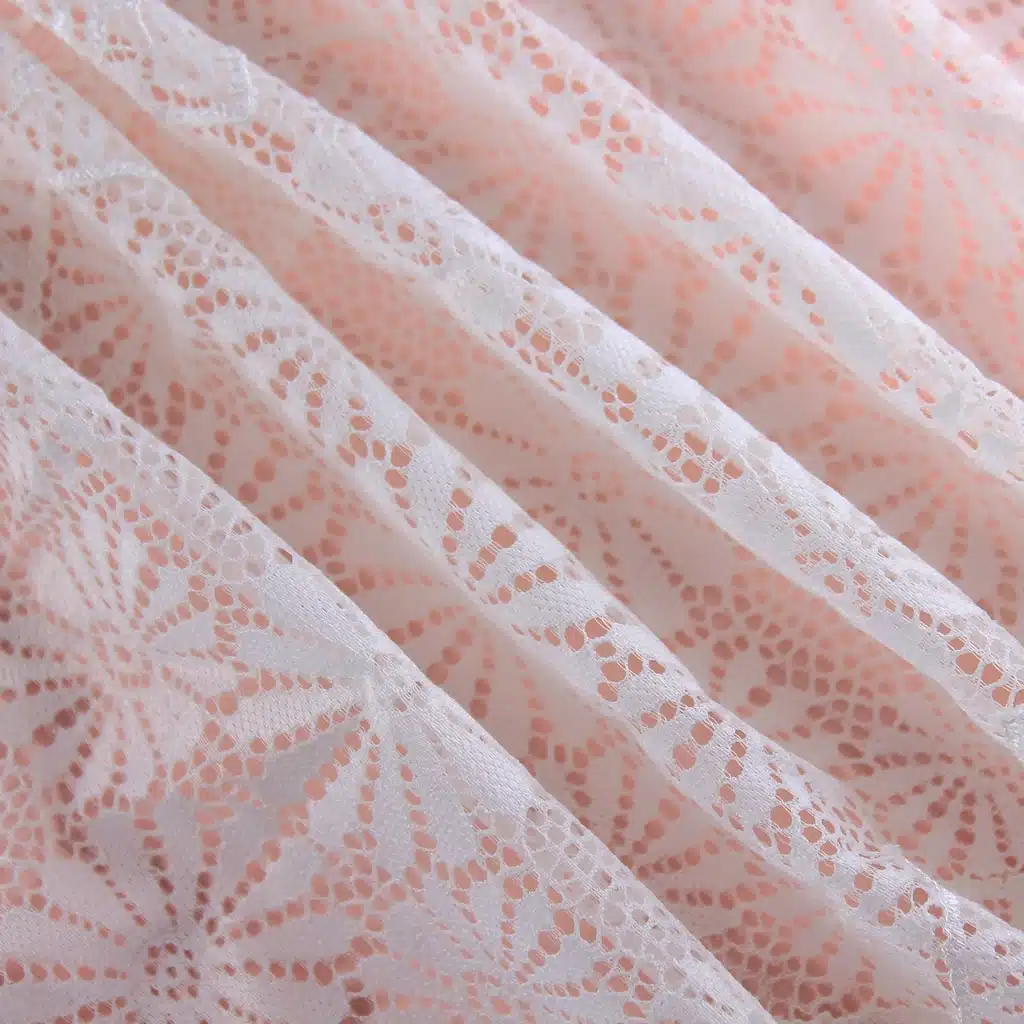
Lace trim is a great way to add a touch of elegance and femininity to any project. Whether you’re making a dress, a quilt, or a pillow, lace trim can be used to give your project a unique and beautiful look. Here’s how to attach lace trim to your project.
1. Measure the area where you want to attach the lace trim. Measure the length of the trim and the width of the area where you want to attach it. This will help you determine how much trim you need and how much you should cut off.
2. Cut the lace trim to the desired length. Make sure to leave a few extra inches on each end so that you can fold the trim over the edges of the fabric.
3. Pin the lace trim in place. Start at one end and pin the trim to the fabric, making sure to keep the trim straight and even.

4. Sew the lace trim in place. Use a straight stitch and a medium-length stitch length. Make sure to backstitch at the beginning and end of the seam.
5. Trim any excess lace trim. Use sharp scissors to trim away any excess lace trim that is sticking out beyond the seam.
6. Press the seam. Use a pressing cloth and a hot iron to press the seam flat. This will help the trim lay flat and look neat.
7. Finish the edges. If you want to give the edges of the trim a finished look, you can use a zigzag stitch or a serger to finish the edges.
Now that you know how to attach lace trim, you can use it to add a touch of elegance and femininity to any project. Whether you’re making a dress, a quilt, or a pillow, lace trim can be used to give your project a unique and beautiful look.