how to sew lace trim on a dress
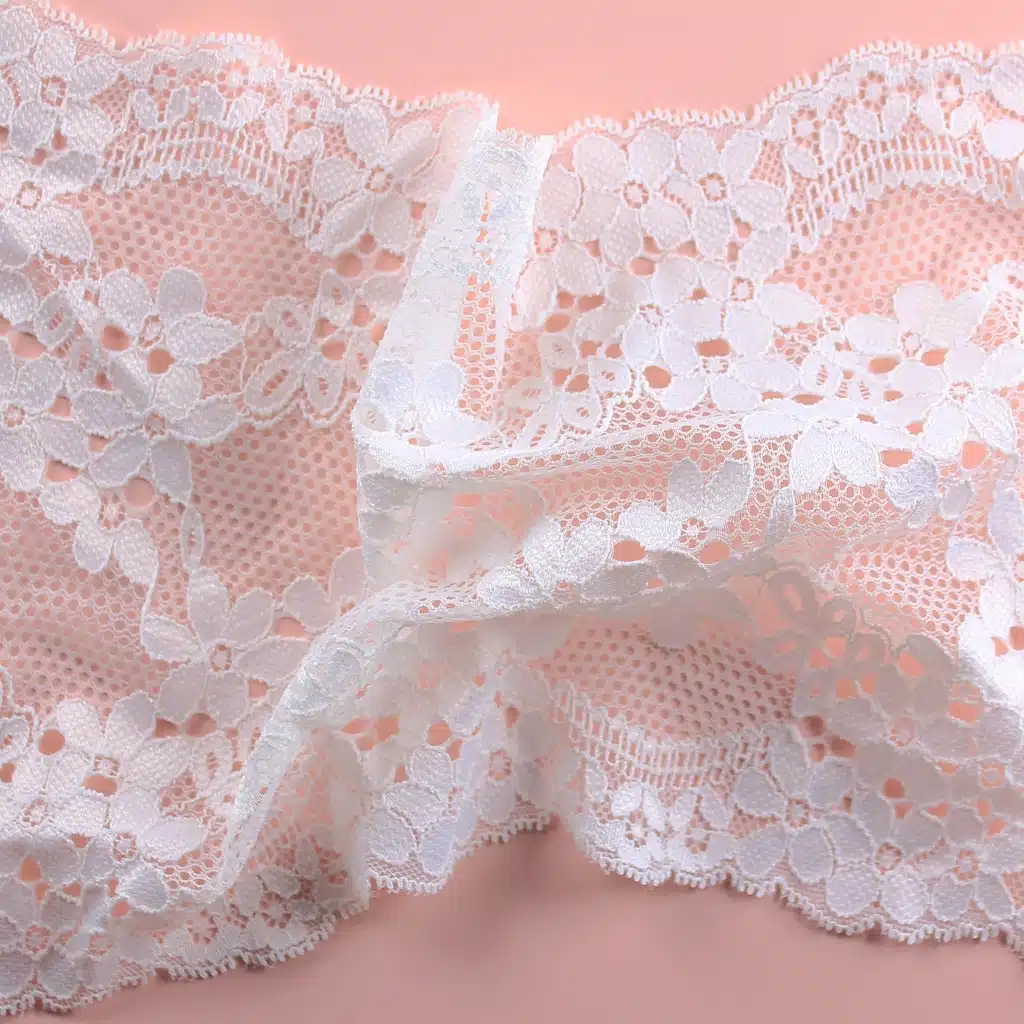
Sewing lace trim on a dress is a great way to add a touch of elegance and femininity to any outfit. Lace trim can be used to add a delicate detail to the hem of a dress, the neckline, or even the sleeves. It can also be used to create a unique look by adding it to the bodice or skirt of a dress. No matter where you choose to add the lace trim, the process is relatively simple and can be done with a few basic sewing supplies.
Materials Needed:
-Lace trim
-Scissors
-Pins
-Sewing machine
-Thread
-Iron
Step 1: Measure and Cut the Lace Trim
Before you begin sewing the lace trim onto the dress, you will need to measure and cut the lace trim to the desired length. Measure the area of the dress where you want to add the lace trim and then add an extra inch or two to the measurement. This will give you enough fabric to work with and will ensure that the lace trim fits properly. Once you have the measurement, cut the lace trim to the desired length.
Step 2: Pin the Lace Trim in Place
Once you have the lace trim cut to the desired length, you will need to pin it in place on the dress. Start by laying the dress flat on a table or other flat surface. Then, place the lace trim along the edge of the dress where you want it to be sewn. Make sure that the lace trim is straight and even before you begin pinning it in place. Once you have the lace trim pinned in place, you can move on to the next step.
Step 3: Iron the Lace Trim
Before you begin sewing the lace trim onto the dress, you will need to iron it. This will help to ensure that the lace trim is smooth and even before you begin sewing. To iron the lace trim, set your iron to the lowest setting and then place the lace trim on the dress. Gently press the iron over the lace trim for a few seconds to help flatten it out. Once you have finished ironing the lace trim, you can move on to the next step.
Step 4: Sew the Lace Trim
Once you have the lace trim pinned and ironed in place, you can begin sewing it onto the dress. Start by threading your sewing machine with the desired color of thread. Then, set the stitch length to a medium setting and begin sewing the lace trim onto the dress. Make sure to sew slowly and evenly to ensure that the lace trim is securely attached to the dress. Once you have finished sewing the lace trim, you can move on to the next step.
Step 5: Trim the Excess Thread
Once you have finished sewing the lace trim onto the dress, you will need to trim the excess thread. To do this, use a pair of scissors to carefully trim away any excess thread that is visible. This will help to ensure that the lace trim looks neat and professional.
Step 6: Enjoy Your New Dress
Once you have finished sewing the lace trim onto the dress, you can enjoy your new look. The lace trim will add a touch of elegance and femininity to any outfit and will help to make your dress look unique and stylish.